
How to Childproof Your Home with a Handyman (Start to Finish)
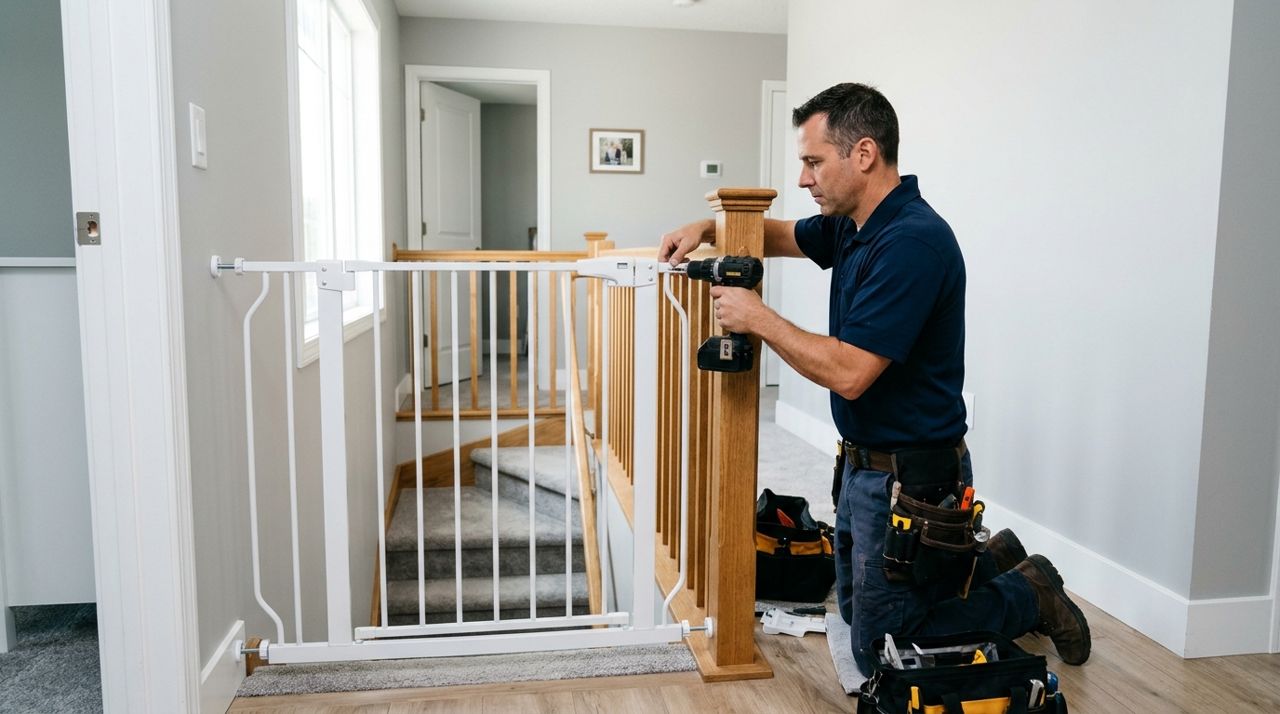
Every parent knows the moment: your baby starts pulling up on furniture or your toddler figures out how to open cabinets. Suddenly every corner, outlet and drawer becomes a hazard. Childproofing kits promise easy installation, but the reality is drilling into drywall, anchoring furniture to studs, and mounting gates on tricky staircases takes real skill and the right tools.
A handyman can childproof your entire home in a few hours, install everything securely, and catch risks you might miss. This guide walks you through the whole process: deciding what you need, finding a reliable pro, preparing for the appointment, and making sure the job is done right.
- 01
Step 1: Walk through your home and list every hazard
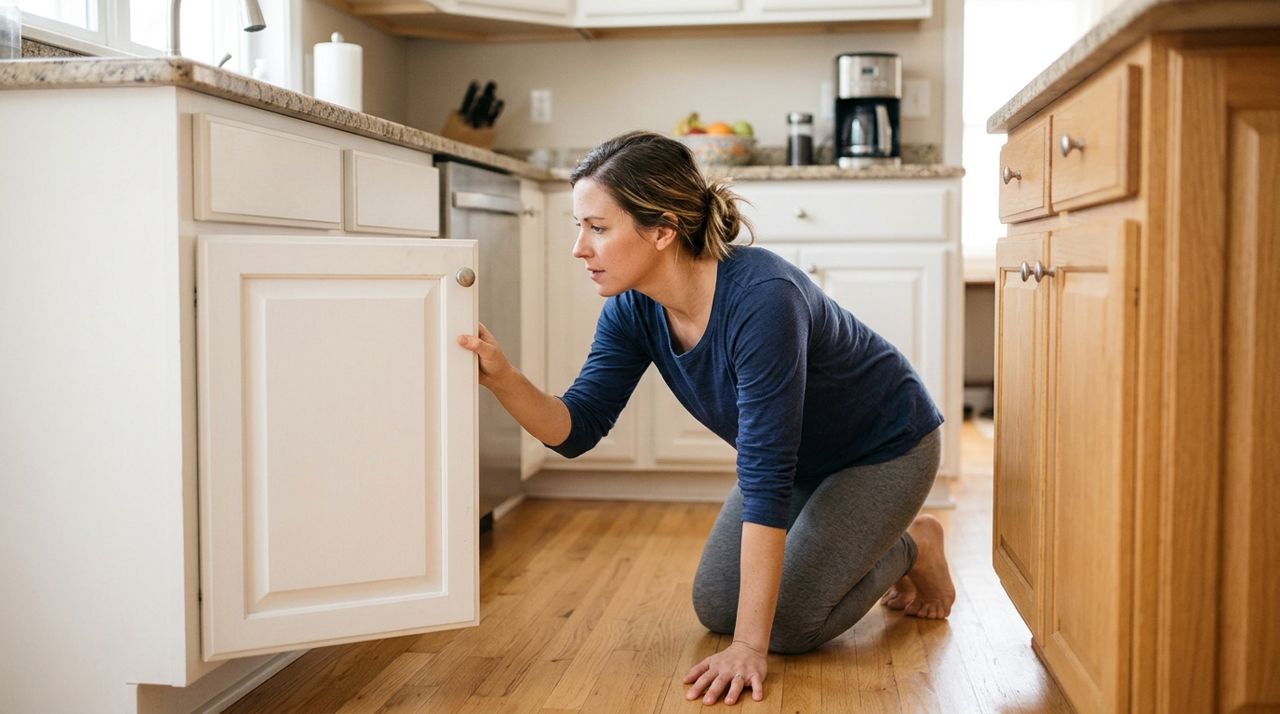
Parent kneeling down inspecting kitchen cabinets for childproofing hazards in home Get down on your hands and knees in every room and see your home from a child's perspective. Look for uncovered outlets, unstable furniture that could tip, cabinets with cleaning supplies or medicines, sharp corners on coffee tables, accessible cords and blinds, and stairs without gates. Write everything down room by room.
Prioritize the most dangerous risks first: furniture anchors for dressers and bookshelves, stair gates, cabinet locks for chemicals and medications, and outlet covers. Secondary tasks include toilet locks, door knob covers, and corner guards. A typical childproofing job includes 15 to 30 individual installations depending on your home's size.
- 02
Step 2: Decide what to buy yourself versus what the handyman should bring
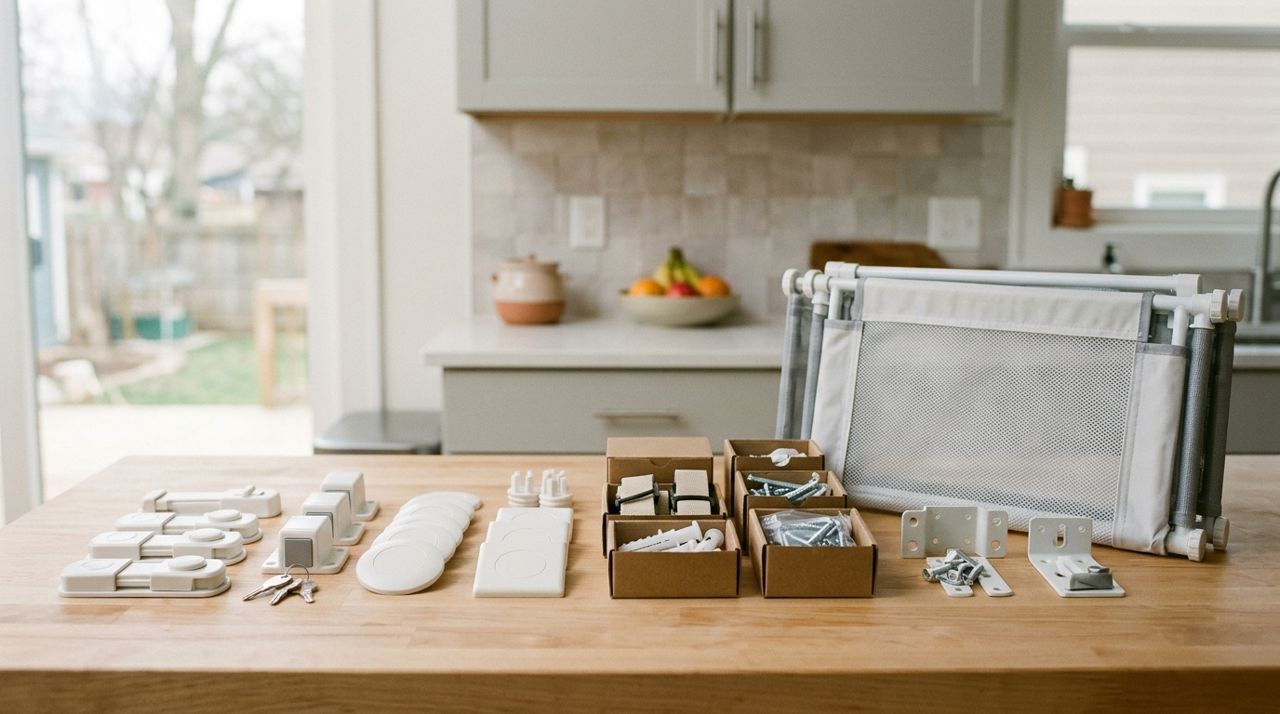
Cabinet locks, outlet covers, furniture anchors and safety gates organized on table Most handymen can supply basic childproofing items, but you'll usually save money buying the specific products you want. Purchase furniture anchors (the heavy-duty straps or L-brackets, not adhesive ones), cabinet locks (magnetic locks are popular because they're invisible), stair gates (measure your openings first; pressure-mounted for hallways, hardware-mounted for stairs), outlet covers, and any specialty items like appliance locks or door pinch guards.
Buy everything a few days before the appointment so you can return anything that doesn't fit. Keep all receipts and packaging. If you're unsure about a product, ask the handyman during booking; most are happy to advise or bring options. Expect to spend $150 to $400 on supplies for a typical three-bedroom home.
- 03
Step 3: Find and book a handyman who has childproofing experience
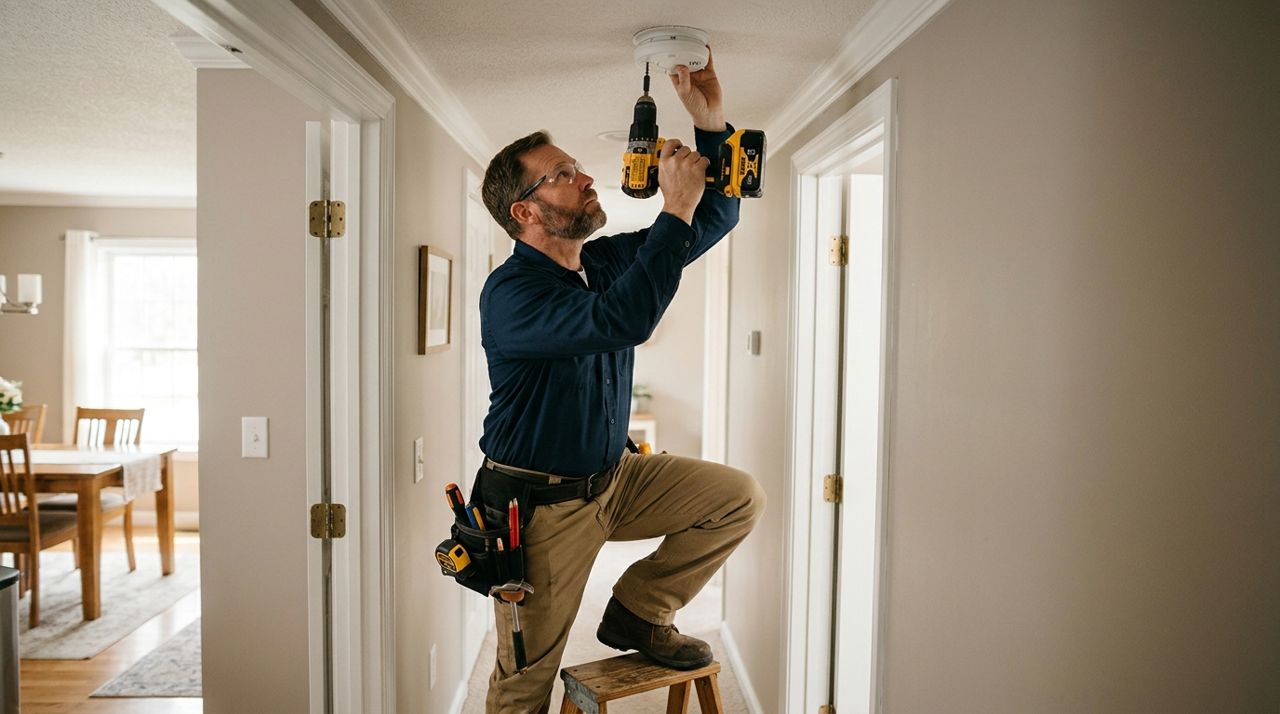
Professional handyman installing safety equipment with power drill in family home Look for a handyman with specific childproofing experience and good reviews mentioning safety installations. On platforms like Lumo, you can describe your job (for example, 'Need furniture anchored, cabinet locks installed, and three stair gates mounted'), see pros who specialize in handyman work, read their ratings, and message them directly to confirm they've done this type of work before.
Typical handyman rates for childproofing run $75 to $150 per hour in most cities, and a full-home childproofing usually takes two to four hours. Get a time estimate upfront. Many handymen charge a service-call minimum (often one to two hours), so bundle all your tasks into one visit. Book at least three to five days ahead if possible, or look for pros offering same-day availability if it's urgent.
- 04
Step 4: Prepare your home before the handyman arrives
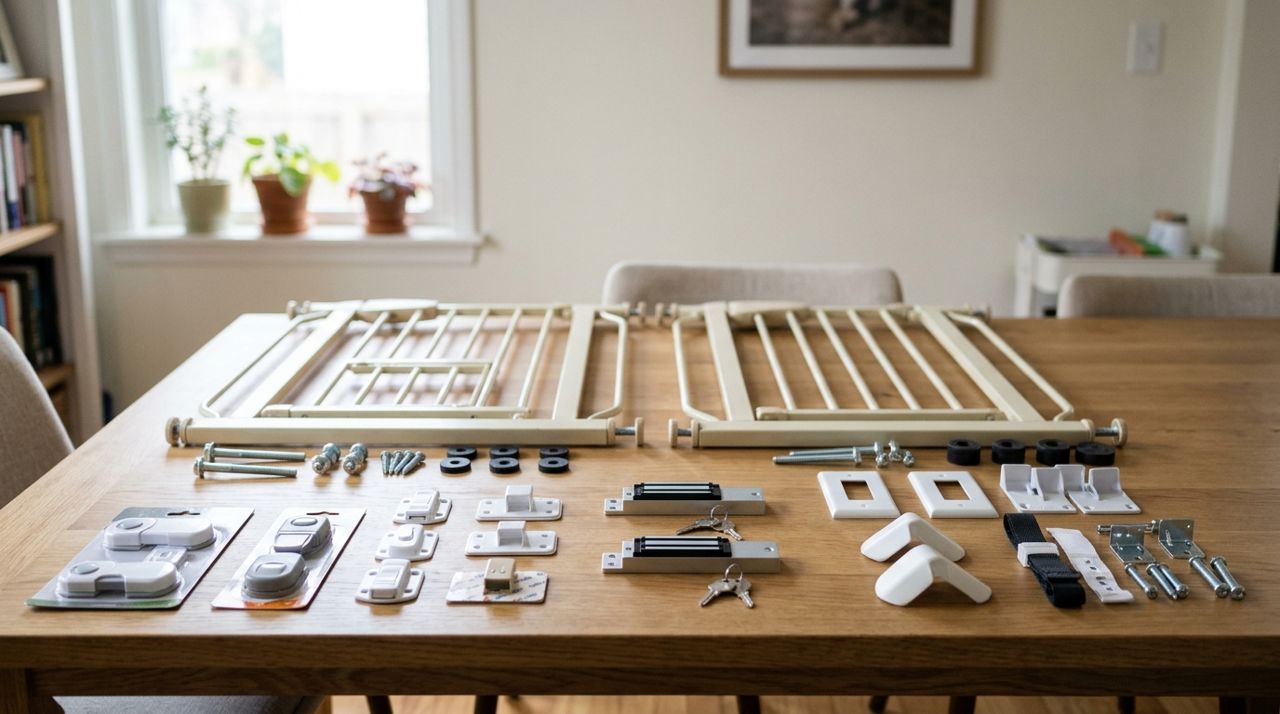
Safety gates, locks and anchors laid out neatly on table before installation Clear the areas where work will happen. Move toys, laundry and clutter away from furniture that needs anchoring. Pull furniture a few inches from walls so the handyman can access the back. Unpack all your childproofing supplies and organize them by room. If you have specific preferences (which cabinets to lock, where to place gates), write them down or mark them with sticky notes.
Make sure pets are secured in another room and plan to keep your child entertained elsewhere during the work; power tools are loud and the handyman needs to focus. Have a step stool available and clear a spot for the handyman to set down tools. If any furniture needs to be emptied before anchoring (like a top-heavy dresser), do that ahead of time.
- 05
Step 5: Walk through the job together and confirm the plan
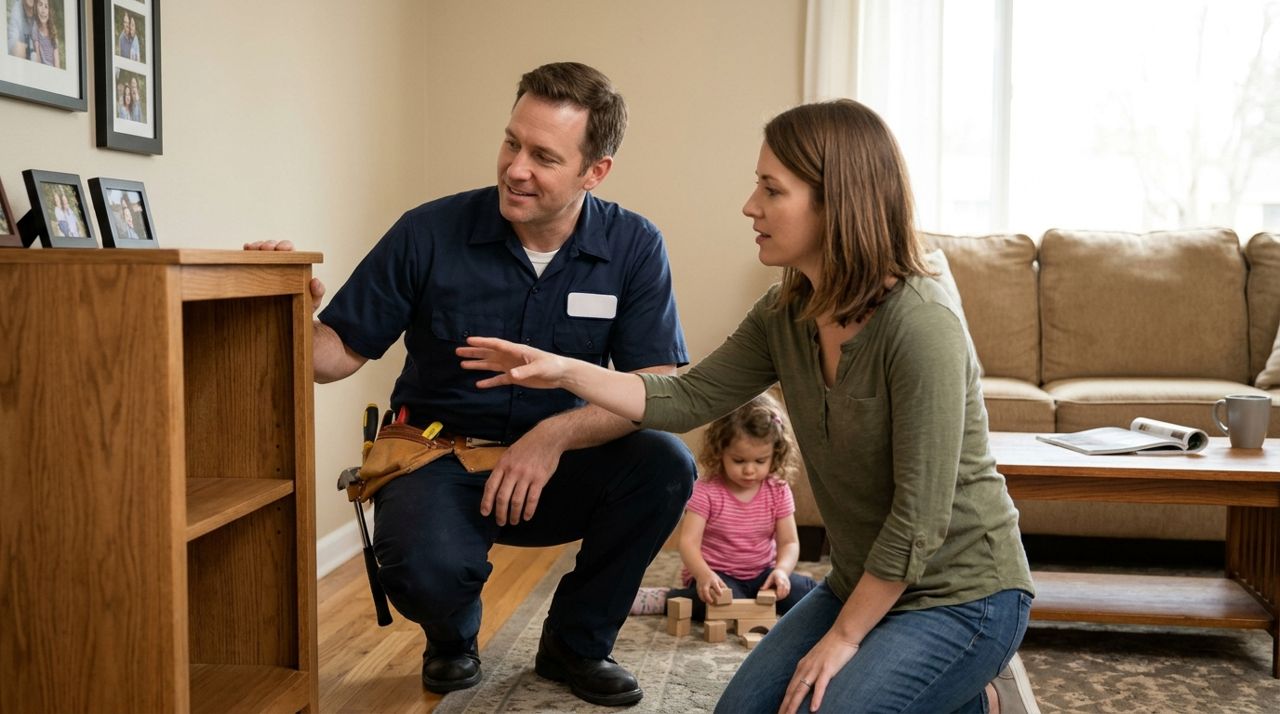
Handyman and parent discussing childproofing plan while looking at furniture together When the handyman arrives, spend ten minutes walking through your list together. Point out every piece of furniture to anchor, every cabinet to lock, and where each gate should go. Mention any concerns: walls that might be tricky, rental restrictions if you're leasing, or specific products you're unsure about.
A good handyman will offer suggestions you might have missed, like anchoring a TV or securing a fireplace screen. They should also locate studs before drilling (furniture anchors must go into studs, not just drywall) and test gates for proper tension. Confirm the estimated time and cost before work begins. This is also the moment to ask questions about maintenance or adjustments as your child grows.
- 06
Step 6: Inspect every installation and test everything thoroughly
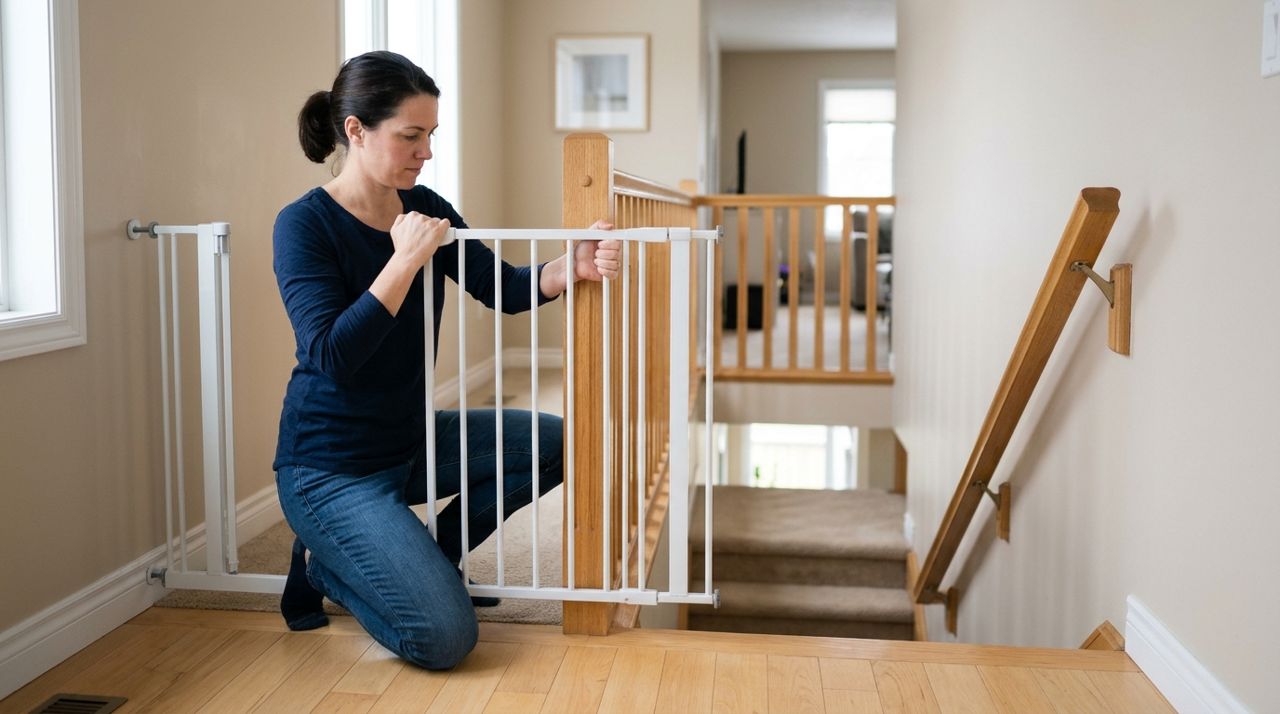
Parent testing installed safety gate on staircase by pulling firmly on frame Once the work is finished, test each installation yourself. Pull hard on furniture anchors (they should be rock-solid even if you use your full weight). Open and close every cabinet to make sure locks engage properly. Shake stair gates with real force; they shouldn't budge or have any gaps a child could slip through. Check that outlet covers fit snugly and corner guards are firmly attached.
Ask the handyman to show you how to operate any locks or gates that have special mechanisms, especially magnetic cabinet locks. Take photos of anchor locations behind furniture so you know where they are if you move. If anything feels loose or doesn't work smoothly, ask for an adjustment right away. Once you're satisfied, you can complete payment and leave a review through the app.
- 07
Step 7: Keep up with adjustments as your child grows
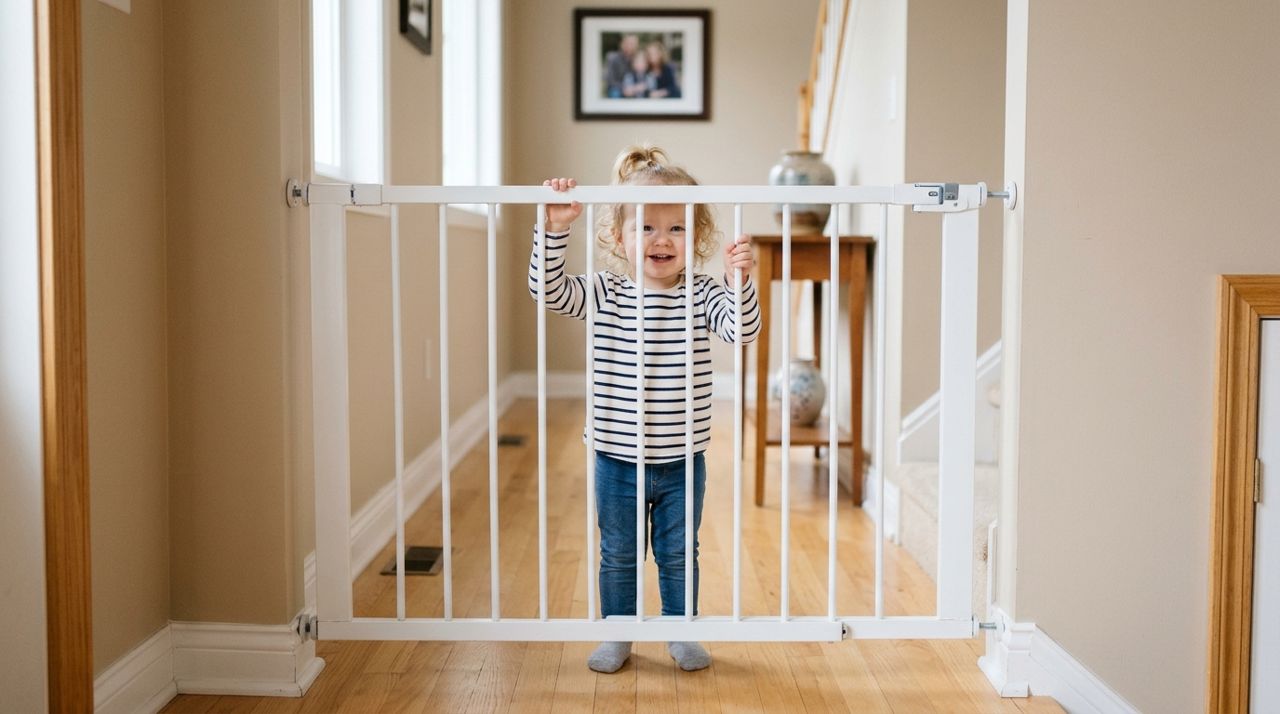
Toddler standing safely behind properly installed childproofing gate in home hallway Childproofing isn't a one-time job. As your child gets taller, stronger and more clever, you'll need to adjust gates, add locks to new areas, and secure items that weren't risks before. Check furniture anchors every few months by giving them a firm tug, and re-tighten any that feel loose.
Many handymen are happy to return for quick adjustments (raising a gate, adding a lock, anchoring a new bookshelf) for a minimal service call. Save the contact information of a handyman who did good work the first time. Plan to remove most childproofing between ages four and six, but keep furniture anchors in place as long as you have the furniture, since tip-overs can injure older kids too.
Pro tips
- Anchor all furniture over 30 inches tall, even if it seems stable. Tip-overs cause dozens of child deaths every year.
- Magnetic cabinet locks are invisible and work better than exterior latches, but make sure the handyman positions magnets at the correct distance.
- Hardware-mounted gates (screwed into walls) are required at the top of stairs; pressure-mounted gates are only safe for doorways and hallway bottoms.
- If you rent, ask your landlord's permission before drilling. Most will approve safety installations, and small anchor holes are easy to patch later.
- Keep the handyman's contact info for follow-up adjustments. A quick return visit costs far less than a second full service call.
Frequently asked questions
- How much does it cost to hire a handyman for childproofing?
- Most handymen charge $75 to $150 per hour depending on your city, and a complete home childproofing typically takes two to four hours. Supplies (anchors, locks, gates) cost an additional $150 to $400. Expect a total of $400 to $1,000 for a thorough job in a three-bedroom home.
- Can I install childproofing products myself or should I hire a pro?
- Simple tasks like outlet covers and cabinet latches are DIY-friendly, but furniture anchors and stair gates require drilling into studs, which most people get wrong. A handyman has a stud finder, the right drill bits, and experience installing everything securely. The peace of mind is worth the cost for most parents.
- How far in advance should I book a handyman for childproofing?
- Book three to five days ahead if possible to get your preferred time. Many handymen offer same-day or next-day availability for urgent jobs. If your child just became mobile, don't wait; look for a pro who can come quickly and do the most critical tasks (furniture anchors, stair gates) first.
Childproofing with a handyman's help takes the guesswork and frustration out of keeping your child safe. A few hours of professional installation gives you confidence that everything is secure and lets you focus on the joys of parenting instead of wrestling with complicated hardware. If you need a handyman fast, apps like Lumo let you describe your job, browse local pros, and book someone who can come as soon as today.
Photos are illustrative. Service prices are typical ranges and vary by city. How we write our guides.
More guides like this
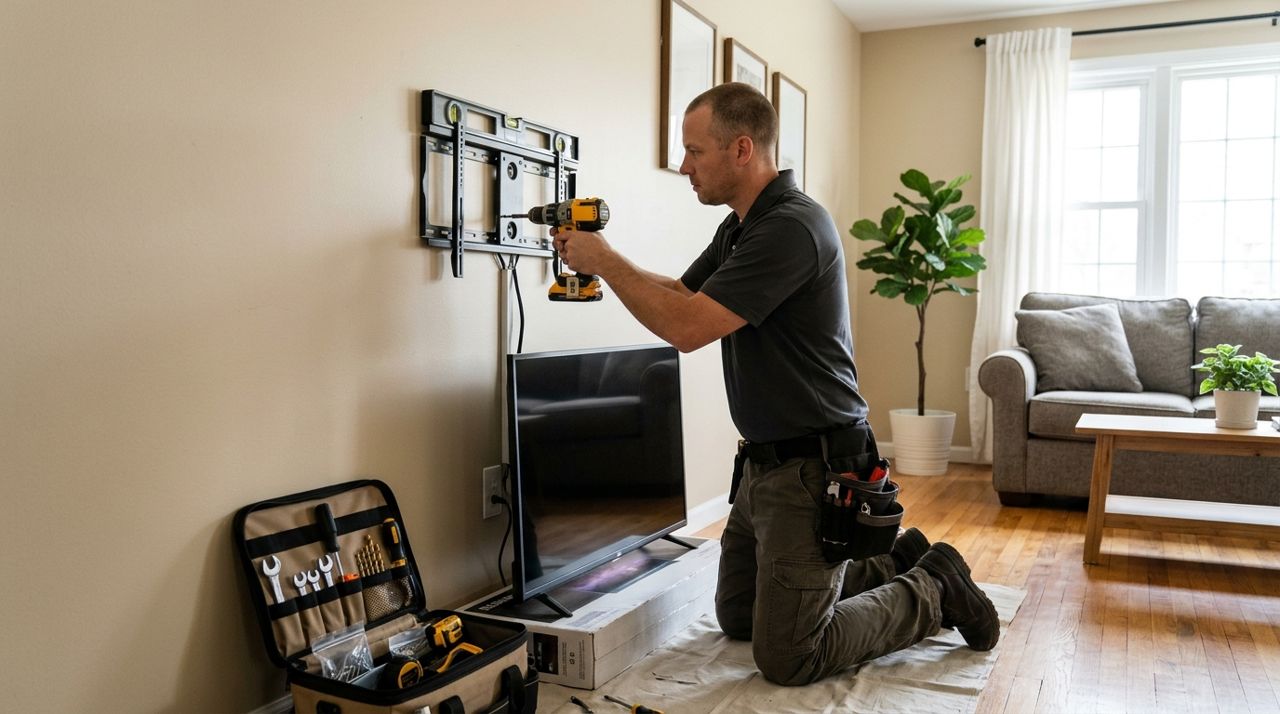
How to Hire a Handyman to Mount Your TV and Hang Shelves
Mounting a TV and hanging shelves sounds simple until you're staring at studs, anchors, and a level. Here's how to hire a handyman who'll get it done right the first time.
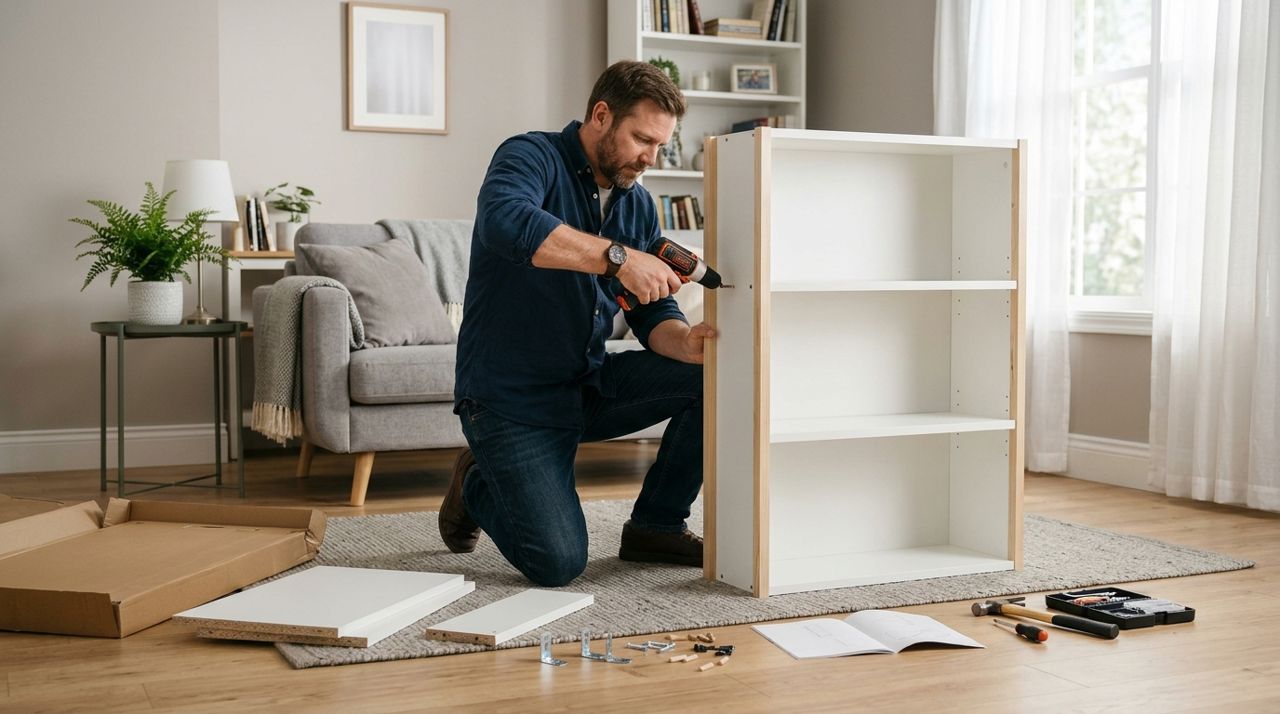
How to Get Flat-Pack Furniture Assembled the Same Day
That flat-pack bookshelf or dresser doesn't have to sit in the box for weeks. Here's how to find a local handyman and get furniture assembled the same day, stress-free.
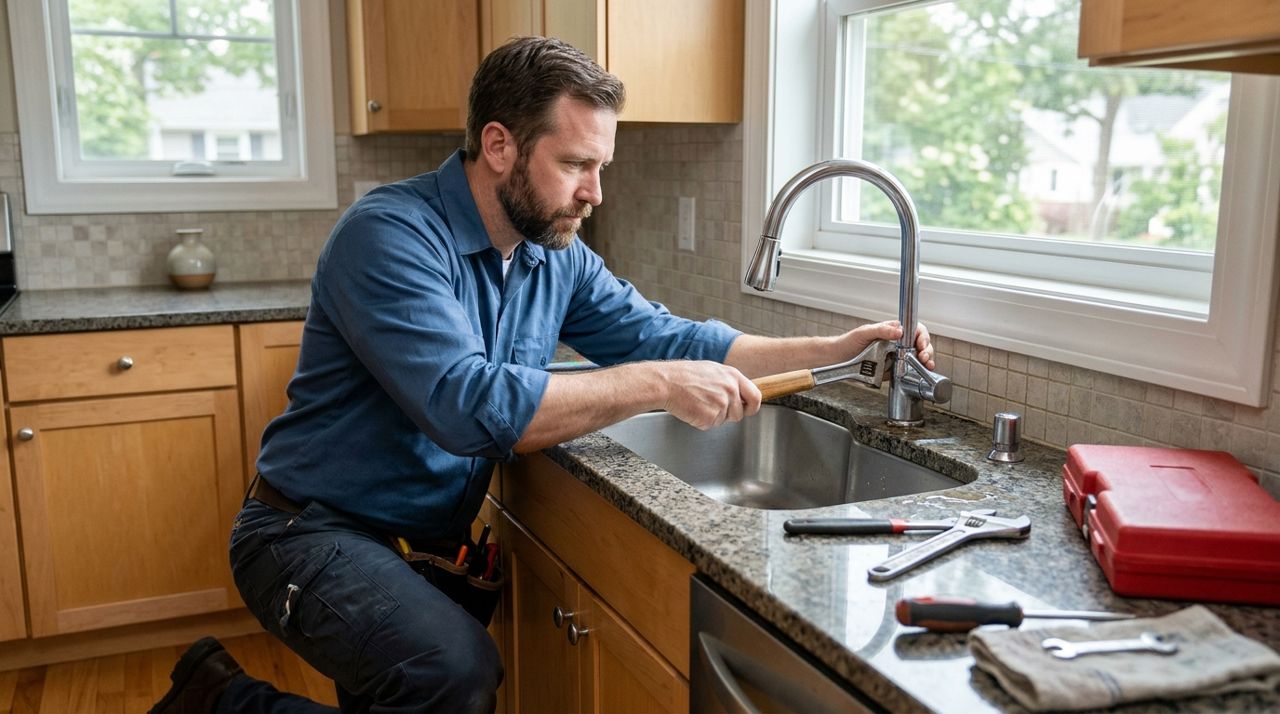
How to Hire a Handyman to Fix a Leaky Faucet and Running Toilet
A dripping faucet and running toilet waste gallons of water and drive up your bill. Here's how to find a qualified local handyman, what to prepare before they arrive, and what fair pricing looks like.