
How to Set Up Job Alerts for Your Radius and Job Types

If you're working gigs through an app, the difference between a good shift and a frustrating one often comes down to how your job alerts are set up. Too wide a radius and you'll get pinged for jobs 45 minutes away. Too narrow and you'll sit idle while work passes you by. The wrong job types selected and you'll decline nine out of ten offers.
Setting up your job alerts correctly means you see only the work you actually want to do, in places you're willing to go. This guide walks you through configuring your job-alert radius and selecting the job types that fit your skills, vehicle, and availability. You'll also learn how to adjust these settings as your situation changes throughout the day or week.
- 01
Step 1: Open the app and make sure you're in Worker mode
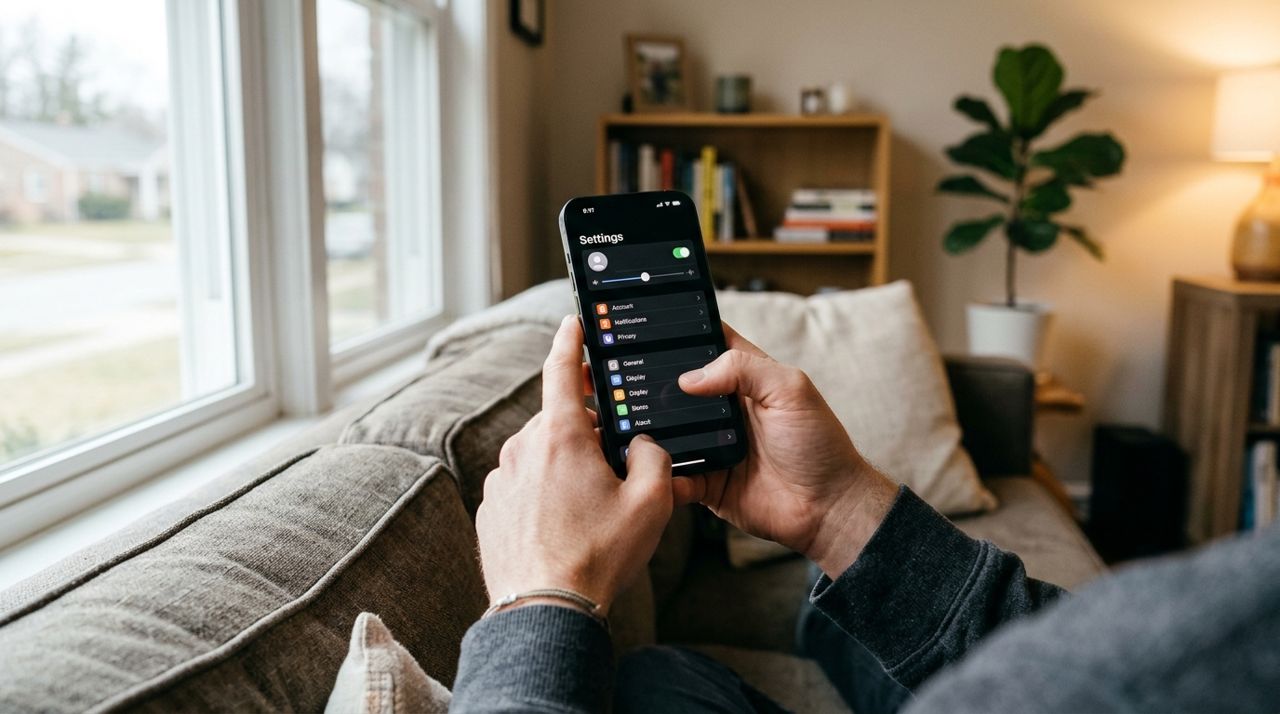
Person holding smartphone with app settings screen open on display When you first open Lumo, you pick your mode on the welcome screen: Customer, Worker, Seller, or Real Estate. If you're already signed in, check that you're in Worker mode by looking at the bottom navigation or the mode indicator at the top of the screen. If you're in the wrong mode, tap your profile icon or the mode switcher and select Worker. This is where you'll access all your job settings, including alerts, working hours, and your earnings wallet. Once you're in Worker mode, head to the settings or preferences section—usually accessible through a gear icon or your profile menu.
- 02
Step 2: Find the job alert settings in your Worker profile
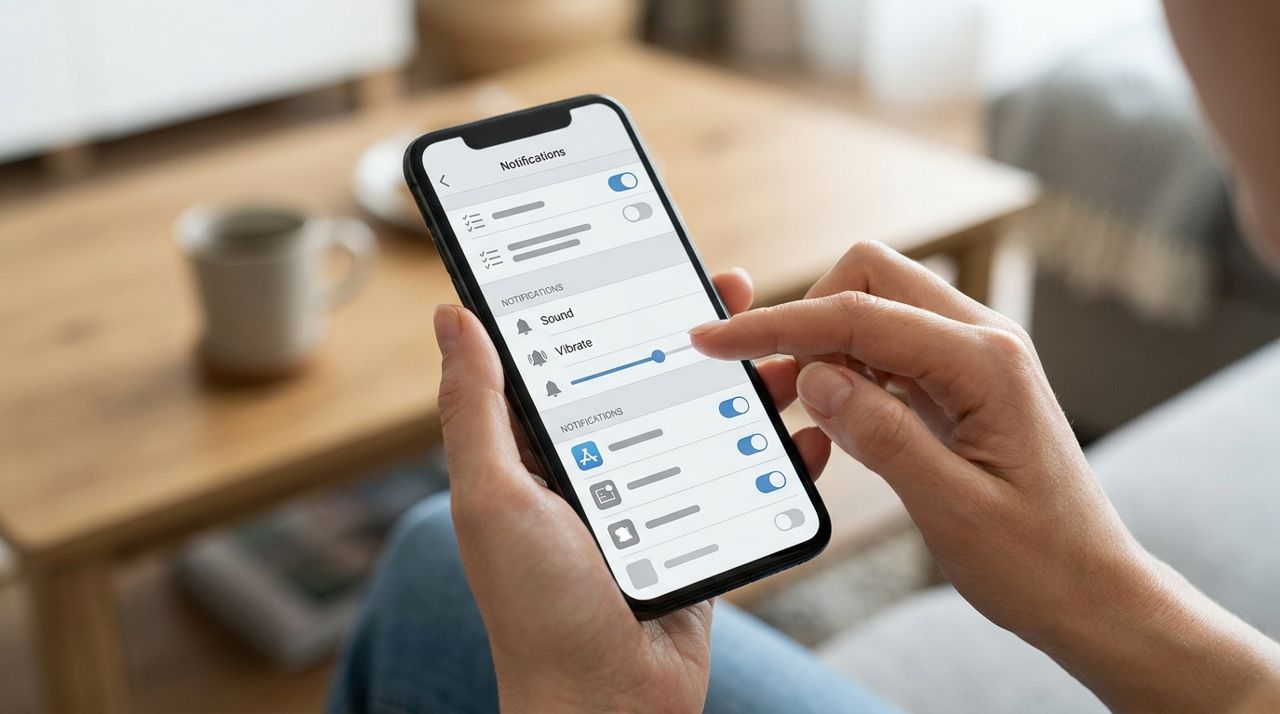
Close-up of mobile phone screen showing notification and alert settings options In the Worker section, look for 'Job Alerts,' 'Alert Preferences,' or 'Notifications.' This is typically under Settings, Profile, or a dedicated Alerts tab. You'll see options for your alert radius and job types. Some apps put these settings front and center because they're critical to how the platform matches you with work. If you can't find them immediately, check the help or search function within the app. The goal is to locate the two main controls: the distance slider or radius input, and the list of job categories you can toggle on or off.
- 03
Step 3: Set your job-alert radius based on your travel preferences
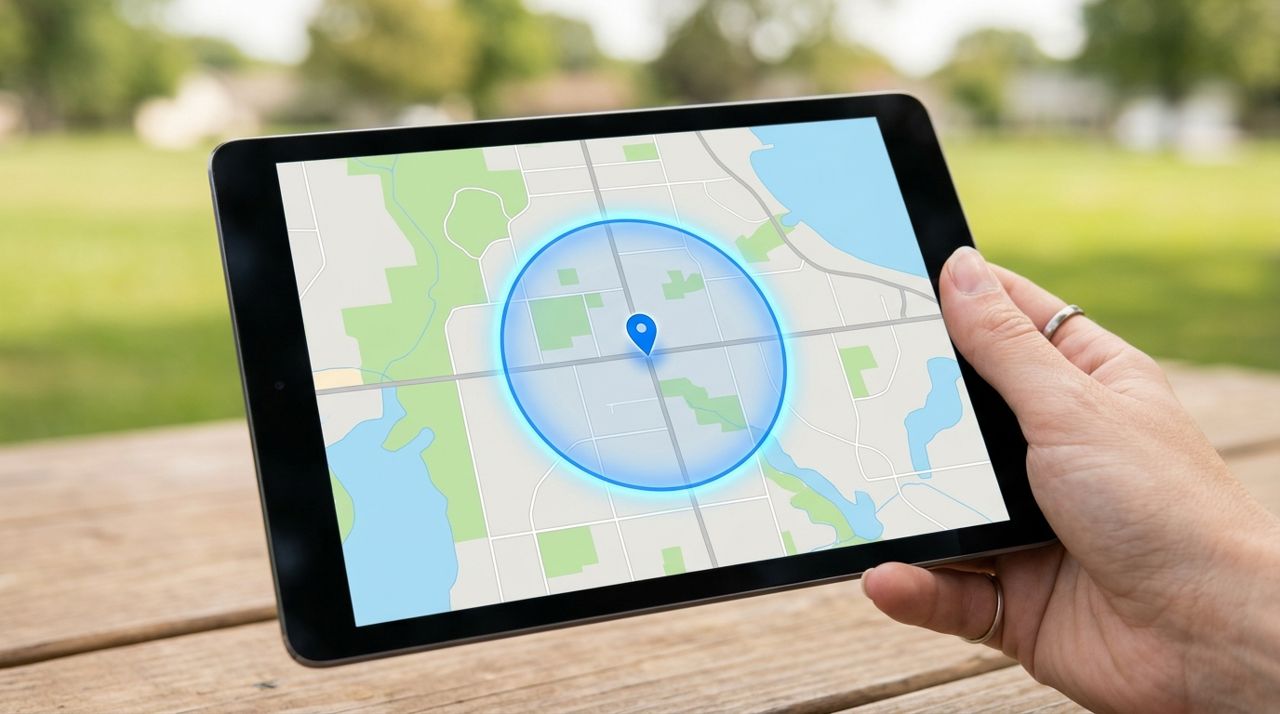
Digital map display showing circular radius overlay around a central location point The radius determines how far from your current location you'll receive job offers. In Lumo, you set a job-alert radius that defines your service area. Start with a realistic number: if you're on foot or bike, 2–5 miles might make sense. If you're driving, you might go 10–15 miles in a city or 20–30 miles in a suburban or rural area. Consider traffic, gas costs, and how much windshield time eats into your earnings. A 30-minute drive for a $15 job usually isn't worth it. You can always expand your radius later if you're not getting enough offers, or tighten it during rush hour when every mile takes twice as long.
- 04
Step 4: Select the job types that match your skills and equipment

Person using tablet with digital checklist of job categories displayed on screen Most gig platforms let you choose which kinds of jobs you want to be alerted about. In Lumo, job types include cleaning, handyman, moving, yard work, pet care, errands, tech help, car care, tutoring, beauty services, events, notary services, and more. Check the boxes for work you're qualified and equipped to do. If you don't have a truck, skip moving and large hauling. If you're not comfortable with plumbing or electrical, leave handyman tasks unchecked. Be honest about your skills—taking a job you can't complete well will hurt your ratings. You can always add more types later as you gain experience or buy new tools.
- 05
Step 5: Test your settings by going on duty and monitoring alerts

Smartphone on table displaying incoming push notification alert on lock screen Once you've saved your radius and job types, toggle yourself to 'on duty' or 'available.' In Lumo, you can go on or off duty and set working hours so alerts only come during times you want to work. Spend an hour or two monitoring the alerts you receive. Are they within your radius? Do they match the job types you selected? If you're getting too many pings, tighten your radius by a few miles or deselect a job type or two. If you're not getting any, expand your radius or add more job types. The 'busy map' feature in Lumo shows you where orders are concentrated, which can help you decide whether to move to a busier area or adjust your radius.
- 06
Step 6: Pause alerts when you need a break and adjust settings as needed
Person sitting in car adjusting smartphone settings while taking a break from work You don't have to stay glued to your phone all day. In Lumo, you can pause alerts when you're taking a break, eating lunch, or dealing with something personal. You can also set working hours in advance so alerts only come during your preferred shifts. Over time, you'll learn when demand is highest in your area and which job types pay best for the time invested. Adjust your radius and job types seasonally—yard work surges in spring and summer, moving spikes at month-end, and errands and cleaning pick up around holidays. Revisit your settings every few weeks to make sure they still fit your situation and goals.
- 07
Step 7: Use the Recruiter Hub and leaderboards to track your progress

Person viewing earnings dashboard and performance statistics on laptop computer screen As you complete jobs, you'll start building a track record. In Lumo, workers keep 90% of each job price, and your earnings land in your in-app wallet where you can pay them out. If you recruit other workers or customers through your invite link, you can check the Recruiter Hub on golumo.app to see everyone you recruited, the jobs they've completed, and your earnings from referrals. The hub also shows monthly, all-time, and city leaderboards. The top three recruiters each month win $100, $50, and $25. Tracking your stats helps you see which job types and times are most profitable, so you can fine-tune your alerts even further.
Pro tips
- Start with a smaller radius and fewer job types, then expand gradually. It's easier to add than to get overwhelmed by irrelevant alerts.
- Check the busy map during your first week to learn where demand clusters in your city, then position yourself accordingly.
- Set working hours in the app so you're not woken up by 6 a.m. errands or pinged during dinner with your family.
- Revisit your job-type selections every month. As you gain skills or buy new equipment, you can take on higher-paying work.
- If you're not getting alerts, make sure notifications are enabled in your phone's system settings and that you're toggled to 'on duty.'
Frequently asked questions
- Can I change my radius and job types during the day?
- Yes, you can adjust your settings anytime. Many workers tighten their radius during rush hour and expand it during slow periods. You can also turn specific job types on or off depending on what equipment you have with you.
- Will I get alerts outside my radius?
- No, you'll only receive alerts for jobs within the radius you set. If you're not getting enough work, try expanding your radius by a few miles or adding more job types to your preferences.
- Do I have to accept every job that comes through?
- No, you can decline any job. However, consistently declining jobs may affect your standing on some platforms. It's better to set your radius and job types accurately so you only see offers you're likely to accept.
Getting your job alerts dialed in takes a little trial and error, but it's worth the effort. When your radius and job types are set correctly, you'll spend less time declining offers and more time completing well-paid work that fits your skills and schedule. Check your settings every few weeks, especially as your situation or the seasons change, and you'll stay busy without burning out.
Photos are illustrative. Service prices are typical ranges and vary by city. How we write our guides.
More guides like this

How to Go On Duty and Set Your Working Hours in Lumo
Lumo gives you complete control over when you receive job alerts. Learn how to go on and off duty instantly, set recurring working hours, and manage your availability so you only get pinged when you actually want to work.

Building a worker profile with photos that wins more bookings
Your profile is the first thing customers see before booking. A clear photo, specific skills and honest descriptions help you stand out and win more jobs.

How Lumo's 90% Payout and Wallet Work: A Worker's Guide
Lumo workers keep 90% of every job price, with earnings landing directly in an in-app wallet. Here's exactly how the payout system works and when you get paid.