
How to Take Listing Photos That Sell Homes Faster
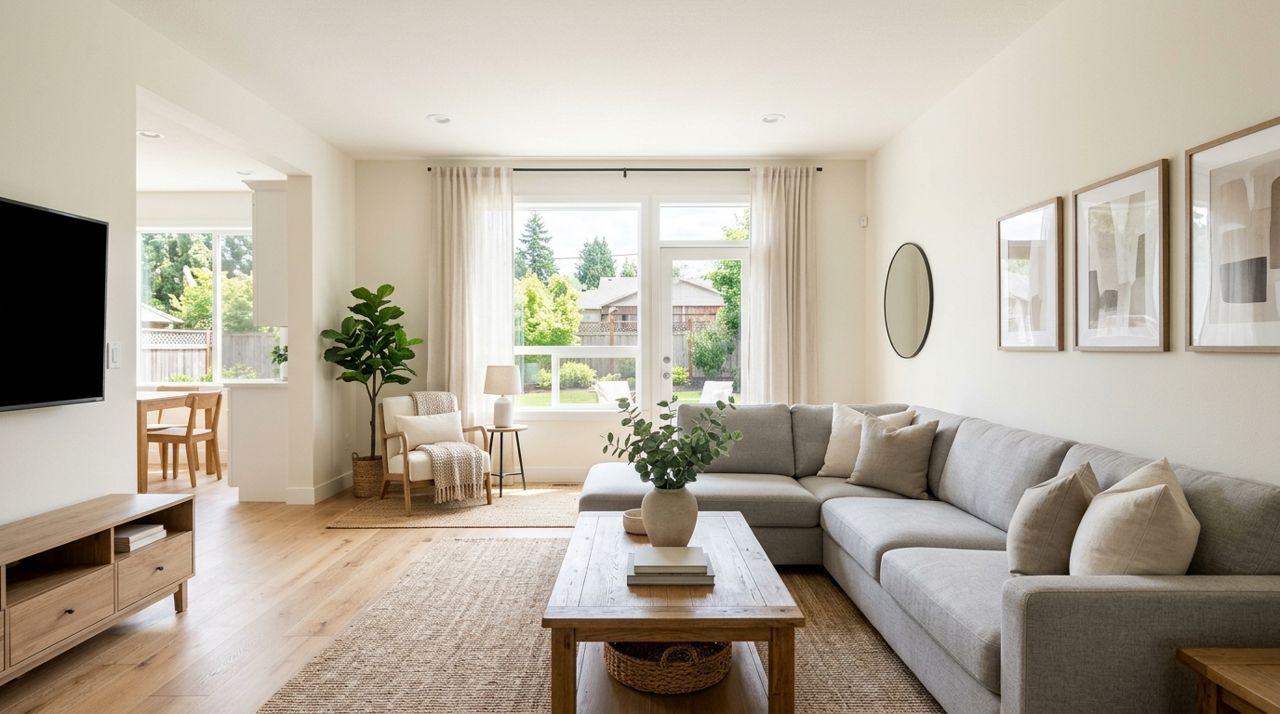
The first photo in your listing gets three seconds of attention, maybe less. If it doesn't make someone stop scrolling, the other 29 photos don't matter. Poor lighting, weird angles, and cluttered rooms cost you showings every single day a home sits on the market.
This guide walks you through the exact process professional photographers use to make rooms look spacious, bright and move-in ready. You'll learn what time of day to shoot, which angles work, how to stage each room in under ten minutes, and simple edits that fix common problems. Whether you're listing on Lumo's real estate marketplace or anywhere else, these techniques work.
- 01
Step 1: Shoot during the golden hours
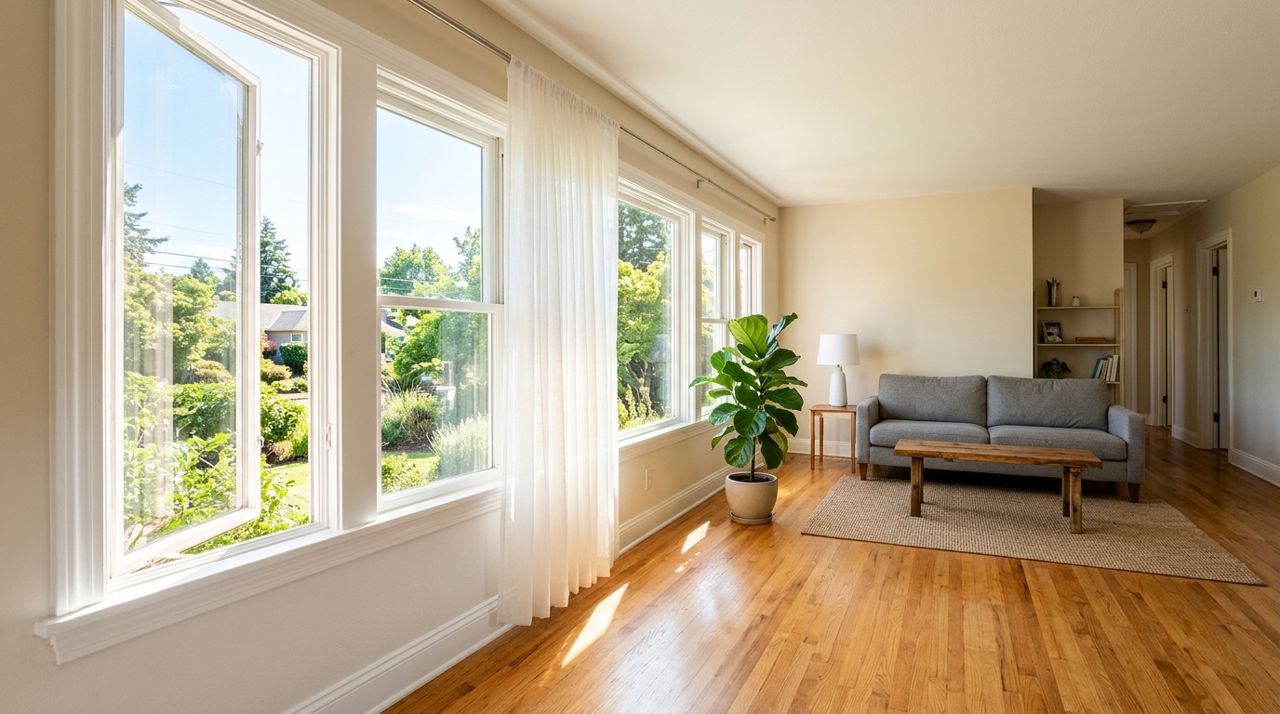
Sunlight streaming through open windows into an empty, well-lit living room during daytime Schedule your photo session between 10 a.m. and 2 p.m. on a sunny or overcast day. Direct sunlight through windows during midday fills rooms with natural light without harsh shadows. Overcast days work even better because the light is soft and even.
Walk through the home an hour before you shoot and open all curtains, blinds and shades. Turn on every light in every room, including lamps, overhead lights, and under-cabinet lighting in the kitchen. The combination of natural and artificial light eliminates dark corners. Avoid shooting at dawn, dusk or night unless you have professional lighting equipment; phones and basic cameras can't handle low light without grainy, dim results.
- 02
Step 2: Use the right angles and height
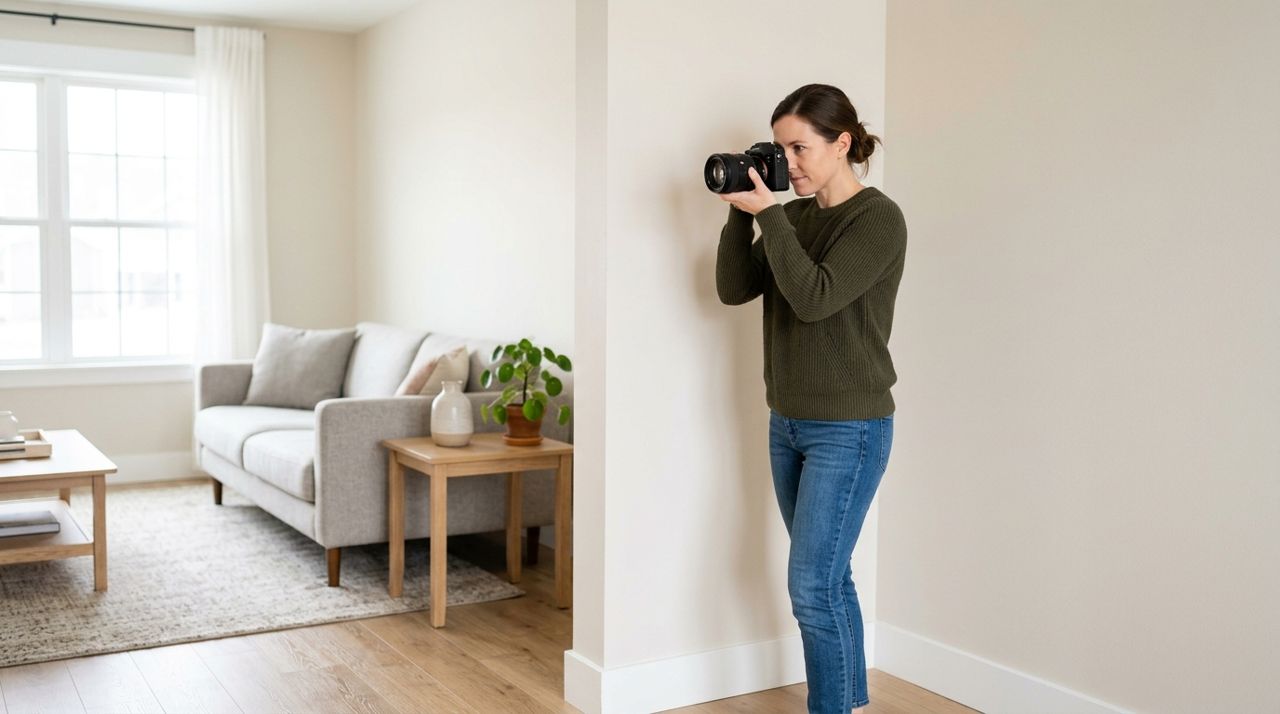
Person holding camera at chest height in corner of room, photographing interior space Stand in the doorway of each room and hold your camera at chest height, about four to five feet off the floor. This height matches how people naturally see a space and makes rooms look proportional. Shooting from too high makes furniture look small; too low makes ceilings feel cramped.
Capture the widest possible view of each room by backing into corners. For living rooms, dining rooms and bedrooms, shoot from the corner diagonal to the main focal point (fireplace, window, bed). Take at least two shots per room from different corners. In kitchens, shoot from the entrance toward the main counter and appliances, then from the opposite side to show the full layout. Never shoot directly at windows unless you want a blown-out white rectangle; angle slightly to the side instead.
- 03
Step 3: Stage and declutter every room
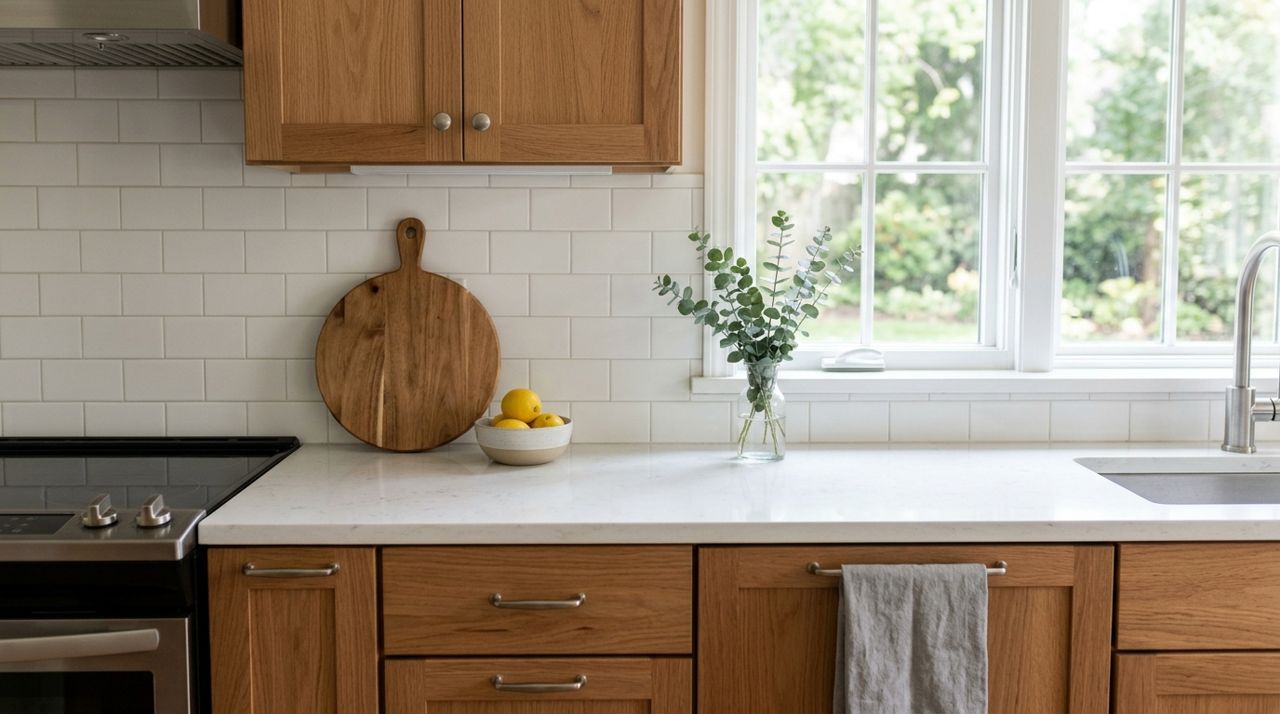
Clean, decluttered kitchen counter with minimal decor and organized space ready for photos Remove 50% of what's currently visible. Clear kitchen counters except for one or two decorative items like a bowl of fruit or a coffee maker. Hide dish soap, sponges, trash cans, pet bowls and small appliances. In bathrooms, remove all toiletries, towels and personal items; replace with one fresh towel folded on the counter and a small plant.
In bedrooms, make the bed with simple, neutral bedding and remove half the pillows. Close closet doors. Remove visible laundry baskets, clothes and shoes. Straighten sofa cushions and remove extra blankets. The goal is to show the space, not the stuff. Buyers need to imagine their belongings in the home, and clutter makes that impossible. Spend ten minutes per room doing this; it's the single biggest factor in photo quality.
- 04
Step 4: Highlight key features and details
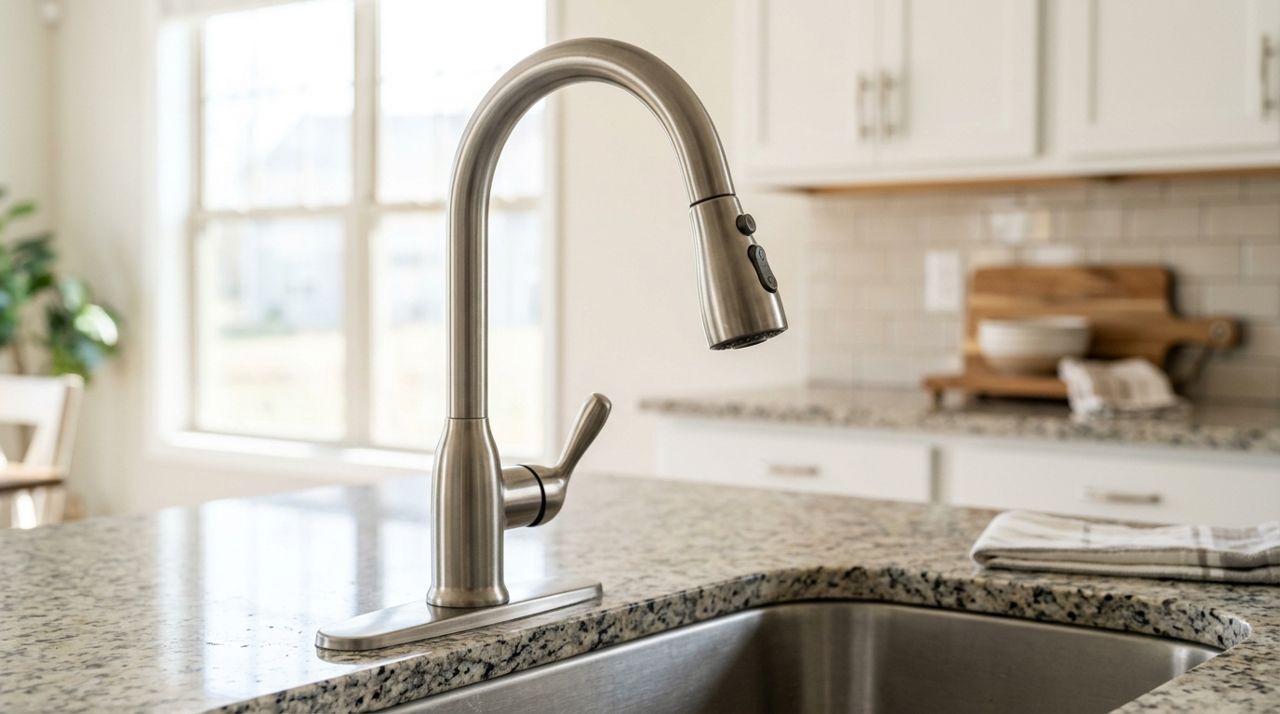
Close-up detail shot of modern brushed nickel kitchen faucet and granite countertop After you've shot every room, walk through and photograph the features that add value. Take close-ups of updated fixtures: brushed nickel faucets, subway tile backsplashes, new stainless appliances, hardwood floors, crown molding, built-in shelving, and walk-in closets with the door open to show the size.
Shoot architectural details that set the home apart: exposed beams, brick accent walls, large windows, vaulted ceilings, or a stone fireplace. Capture storage solutions like pantries, linen closets and garage organization. Photograph the view from the largest windows if it's attractive. These detail shots break up the listing and give buyers specific reasons to care. Take at least six to eight detail photos per home. They prove the home is well-maintained and worth the asking price.
- 05
Step 5: Shoot the exterior and curb appeal
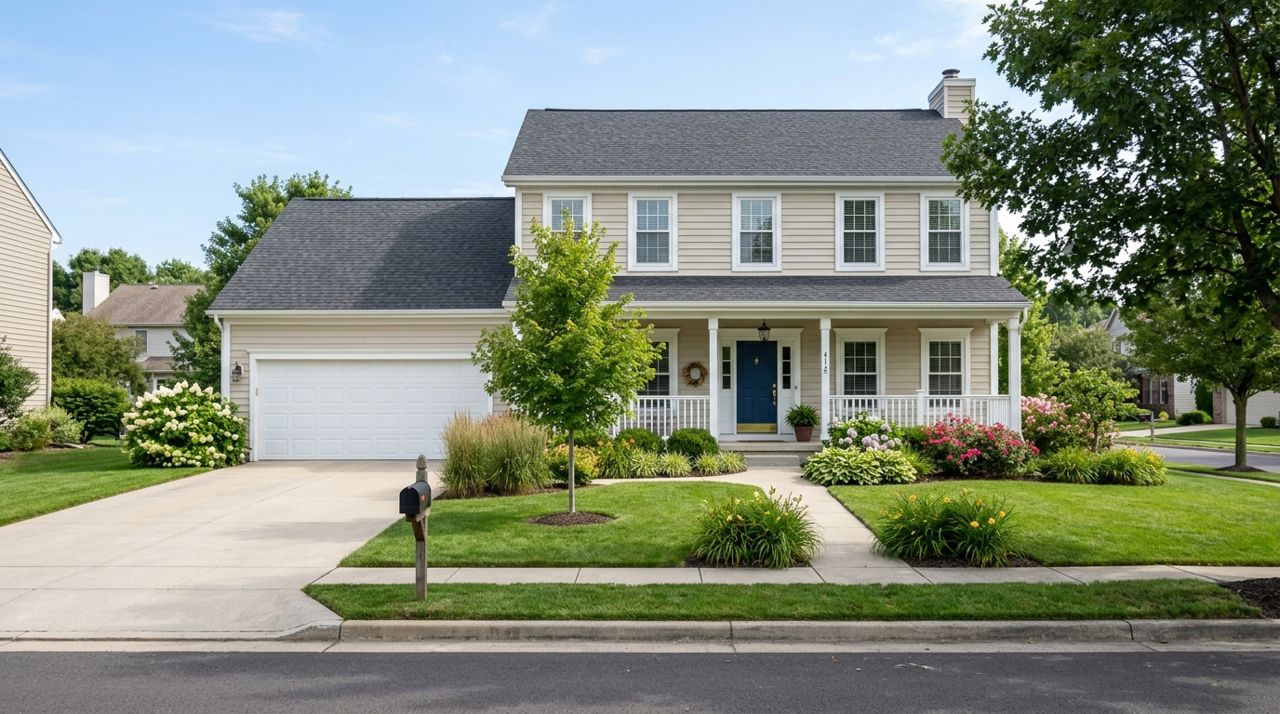
Full front view of home exterior from curb showing facade, landscaping and driveway Photograph the front of the home straight-on from the curb or street, showing the full facade, driveway and front yard. This is your hero image; it must be sharp, bright and welcoming. Mow the lawn, edge walkways, sweep the porch and hide trash cans before you shoot.
Take side and rear exterior shots to show the full lot and any outdoor features like decks, patios, pools, sheds or fenced yards. Shoot the garage with the door open if it's organized and clean. Capture any landscaping, trees or gardens that add value. If the neighborhood has amenities like a park, pool or clubhouse within view, include those too. Exterior photos prove the home is worth visiting in person. Take at least five exterior shots from different angles and distances.
- 06
Step 6: Edit for brightness and straightness
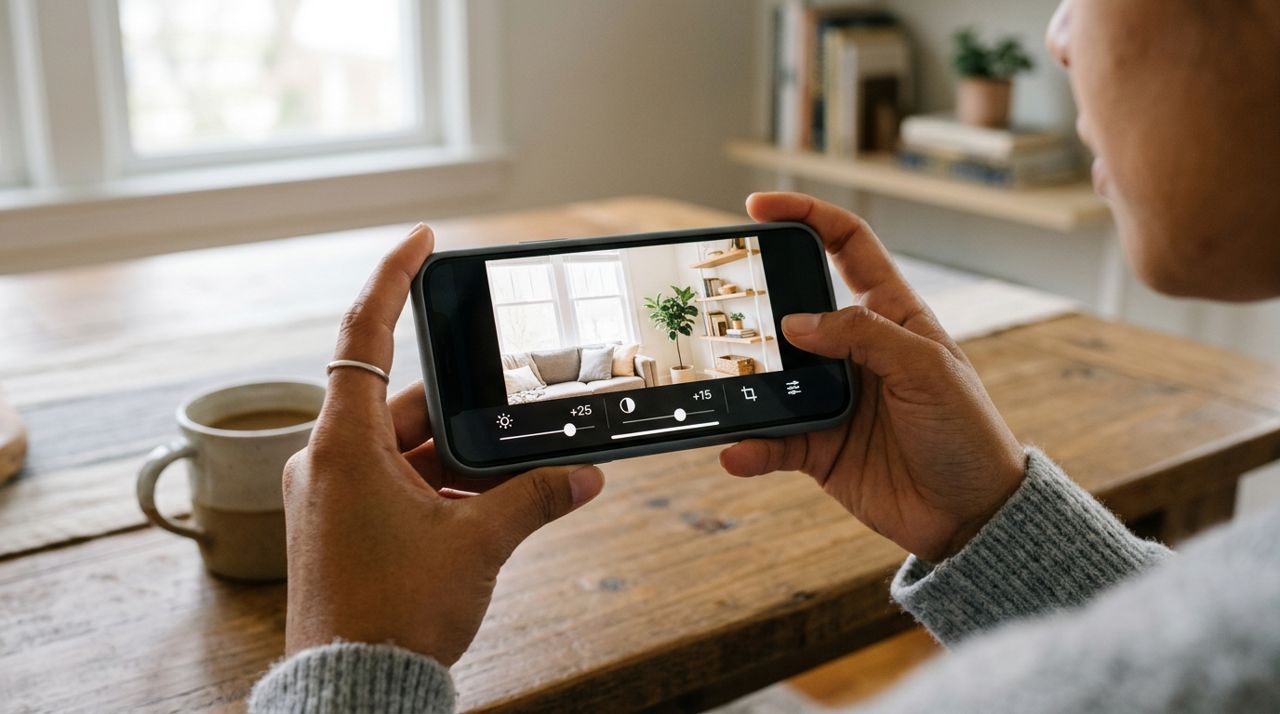
Smartphone screen showing photo editing app adjusting brightness and contrast on interior room photo Import your photos into a free editing app like Snapseed, Lightroom Mobile, or Photoshop Express. For each image, make these three edits:
- Increase brightness by 10-20% so rooms look airy and inviting
- Straighten the image using the app's horizon or perspective tool; walls should be perfectly vertical, not leaning
- Boost contrast slightly to make colors pop without looking oversaturated
Avoid heavy filters or unnatural edits. If a room looks dramatically better in the edited photo than in real life, you've gone too far. The goal is to show the home at its best on an average screen, not to mislead buyers. Export the final images at high resolution (at least 1920 x 1080 pixels). Blurry, pixelated photos look unprofessional and suggest the home itself is low-quality.
- 07
Step 7: Order and upload your best shots
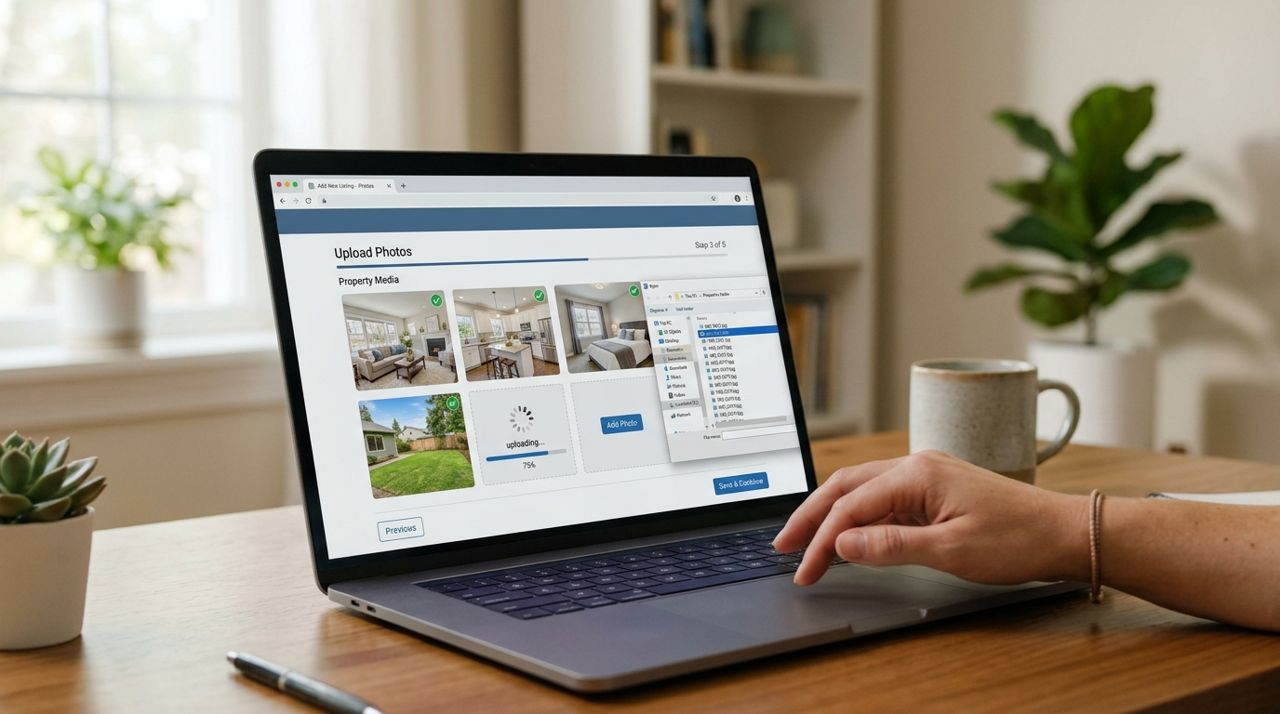
Laptop screen showing real estate listing form with photos being uploaded in sequence Select 20 to 30 of your best photos. Lead with the strongest exterior shot, then move inside starting with the most impressive room (usually the living room or kitchen). Show bedrooms, bathrooms, key features and details, then end with additional exterior and yard shots.
Delete duplicates and any photos with obvious flaws like motion blur, bad lighting or visible people. The first five photos matter most; 80% of buyers won't scroll past them if they're not compelling. When you list your home on Lumo's real estate marketplace or any platform, upload photos in this order. Platforms that let you rearrange photos later give you flexibility to test which lead image gets the most views. Most listing platforms accept 25 to 50 photos, so use that space to tell a complete story about the home.
Pro tips
- Use your phone's grid feature (usually in camera settings) to keep horizontal lines straight and avoid tilted photos.
- Shoot in landscape (horizontal) orientation for room shots; vertical works only for tall features like staircases or vaulted ceilings.
- If a room feels dark even with all lights on, bring in a floor lamp from another room and position it out of frame.
- Photograph empty homes in the afternoon when natural light is strongest; occupied homes benefit from early morning when spaces are naturally tidy.
- Take three times more photos than you think you need; you'll delete two-thirds during editing and still have plenty of great options.
Frequently asked questions
- Should I hire a professional photographer or do it myself?
- If your home is priced above $400,000 or in a competitive market, hire a pro; they have wide-angle lenses and lighting equipment that make a measurable difference. For homes under $300,000 or in slower markets, good phone photos using these techniques work fine and save $150-$400.
- How many photos should a listing have?
- Aim for 25 to 35 photos. Fewer than 20 makes buyers assume you're hiding problems; more than 40 feels excessive unless the home is large or has unique features. Quality matters more than quantity.
- Can I use photos from the previous listing if I'm relisting?
- Only if the home looks identical and the photos are less than six months old. Buyers notice outdated photos instantly (wrong season, old furniture, different paint), and it raises red flags about what else might be inaccurate in the listing.
Great listing photos don't require expensive equipment, just attention to light, angles and presentation. Spend three hours shooting and editing, and you'll have a set of images that compete with professional listings. When you're ready to list, Lumo's real estate marketplace lets you post homes for sale with unlimited photos at no upfront cost. Start with your best shot, and let the photos do the work of getting buyers through the door.
Photos are illustrative. Service prices are typical ranges and vary by city. How we write our guides.
More guides like this
How to Find a Long-Term Rental Apartment in a New City: A Step-by-Step Guide
Finding a rental apartment in an unfamiliar city can feel overwhelming, but breaking the process into clear steps makes it manageable. This guide walks you through searching listings, evaluating neighborhoods, and locking down the right place.
How to Book a Short-Term Rental for Your Work Trip in 7 Steps
Booking a short-term rental for a work trip doesn't have to be complicated. Follow these seven practical steps to find the right place, check what you need, and confirm your stay.
How to List Your Home for Sale Without Paying Listing Fees
Listing your home for sale doesn't have to cost you hundreds or thousands in upfront fees. Here's how to create a free listing that reaches serious buyers.