
How to Take Professional Product Photos Using Only Your Phone

Most shoppers scroll right past blurry, poorly lit product photos. In fact, listings with high-quality images sell 30-40% faster than those with mediocre shots. The good news: you already own the only tool you need. Modern smartphones have cameras that rival professional equipment from just a few years ago.
This guide walks you through exactly how to photograph your products using just your phone. You'll learn the lighting setup, angles, backgrounds and editing tricks that turn snapshots into sales tools. Whether you're selling handmade crafts, vintage clothing, or small-batch food items, these techniques work for any product you can hold or set on a table.
- 01
Step 1: Set up near a window with natural light
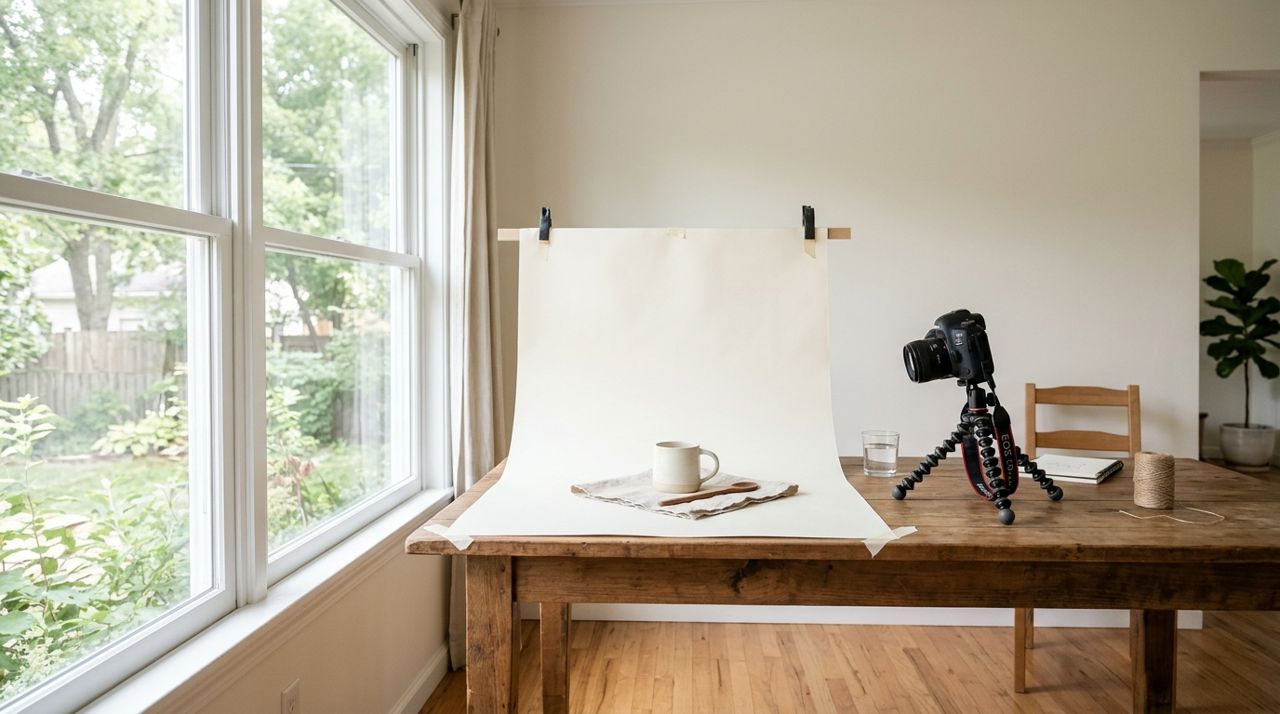
Product photography setup with table positioned next to large window with natural daylight Natural light is your secret weapon. Place a table perpendicular to a large window, ideally on an overcast day or when the sun isn't directly shining in. Direct sunlight creates harsh shadows; diffused light from a cloudy sky gives you even, flattering illumination. If it's sunny, hang a white sheet over the window to soften the light.
Shoot during mid-morning or mid-afternoon when light is brightest. Turn off overhead lights and lamps—they add unwanted color casts. Position your product so the window light hits it from the side at about a 45-degree angle. This creates gentle shadows that add depth and dimension. If one side looks too dark, place a white poster board opposite the window to bounce light back and fill in shadows.
- 02
Step 2: Choose a clean, simple background
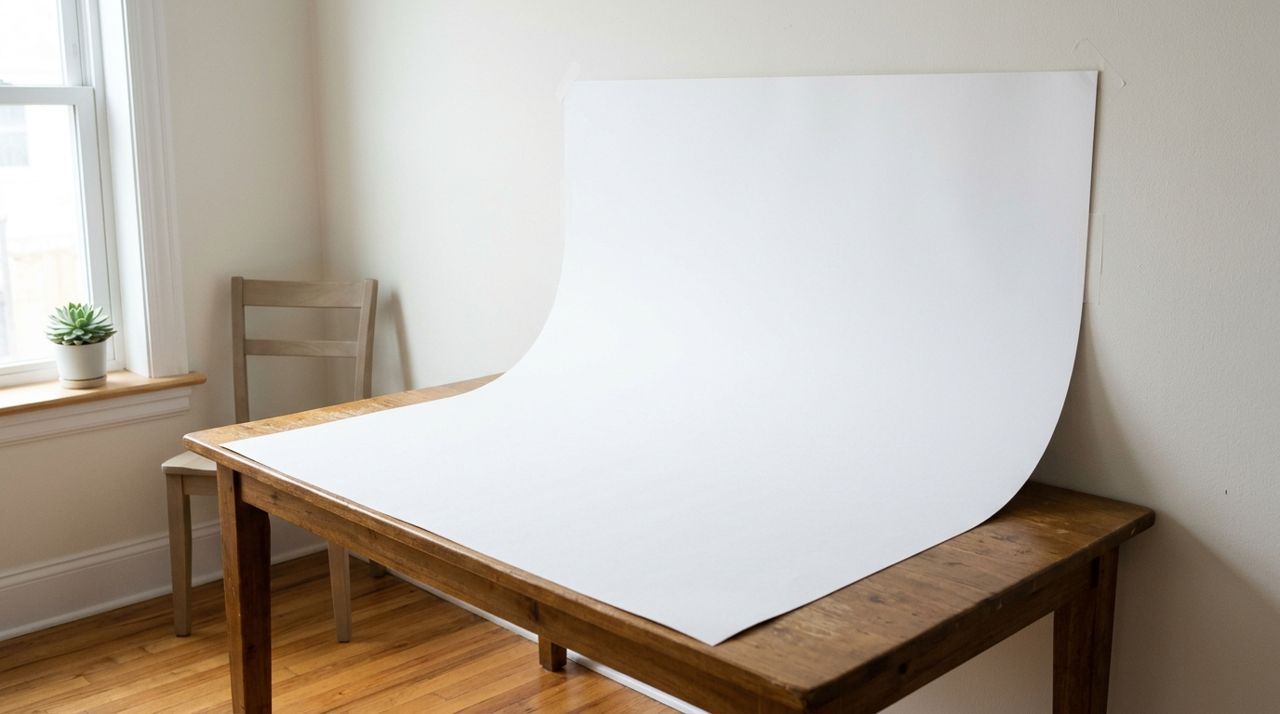
White poster board curved from wall to table creating clean seamless photography background Your product should be the star, not the background. A plain white poster board ($1-3 at any craft store) is the gold standard. Tape it to the wall and let it curve down onto your table—this creates a seamless backdrop with no distracting lines.
For a warmer look, try light gray, cream, or natural wood. Avoid busy patterns, bright colors, or anything with text. The background should disappear, letting buyers focus entirely on what you're selling. If you're photographing clothing, a simple hanger against a white wall works perfectly. For food items, a neutral cutting board or plain countertop can add context without stealing attention.
- 03
Step 3: Clean your phone lens and lock focus
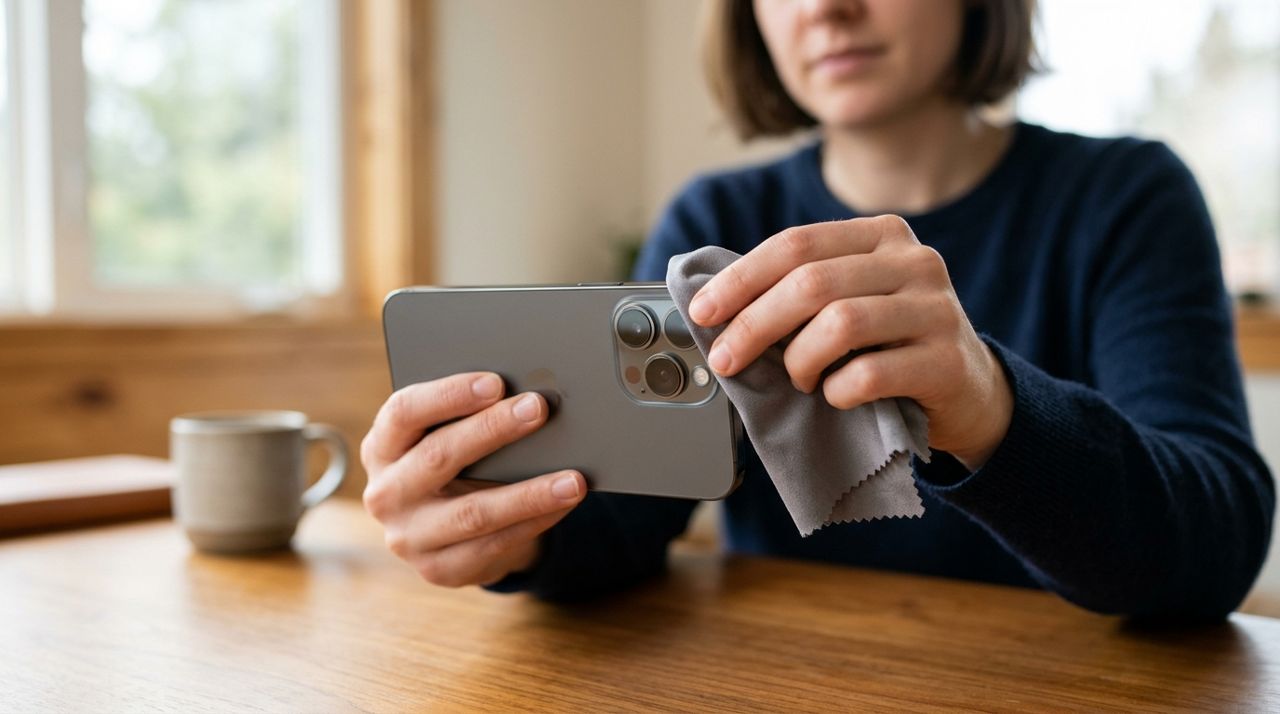
Close-up of person cleaning smartphone camera lens with microfiber cloth before photography session Wipe your phone lens with a microfiber cloth or clean shirt. You'd be amazed how much a fingerprint-smudged lens degrades image quality. Open your camera app and turn off the flash—you're using natural light instead.
Tap on your product on the screen to lock focus and exposure. On an iPhone, tap and hold until you see 'AE/AF Lock.' On Android, the method varies but usually involves tapping the subject. Once locked, you can slide your finger up or down to adjust brightness. The image should be bright but not blown out—you want to see detail in both the lightest and darkest areas. Take several test shots and check them at full size.
- 04
Step 4: Shoot from multiple angles at eye level

Photographer taking multiple angle shots of small product on white surface using smartphone Take at least five different shots: straight-on, both 45-degree angles, directly overhead, and a detail close-up. Get down to your product's eye level instead of shooting from above—this creates a more natural, engaging perspective. Hold your phone steady with both hands or prop it on a stack of books.
Move around your product rather than zooming in digitally, which reduces quality. For clothing, capture the front, back, and any special details like buttons or stitching. For food, show the packaging and the product itself. For handmade items, include scale by placing a coin nearby in one shot. Fill most of the frame with your product, leaving just a small border of background.
- 05
Step 5: Keep your hands steady or use a makeshift tripod
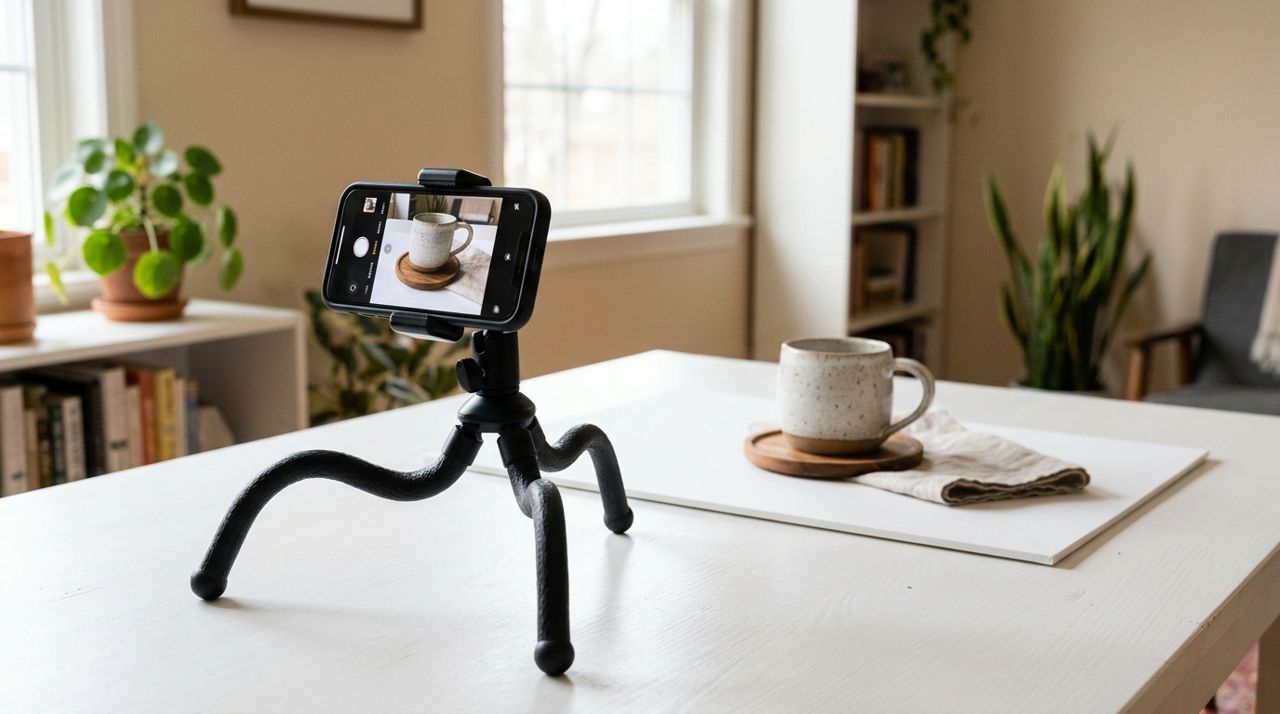
Smartphone mounted on small flexible tripod taking stable product photograph on white table Camera shake is the enemy of sharp photos. Brace your elbows against your body or rest them on the table. Take a breath, exhale, then press the shutter button gently. Better yet, use your phone's timer (usually a 3 or 10-second option) so you're not touching it when the photo is taken.
For a DIY tripod, lean your phone against a mug or stack of books at the angle you need. Some sellers swear by inexpensive phone tripods ($8-15) with flexible legs that grip table edges. If your phone has burst mode, use it—take five shots in rapid succession and pick the sharpest. The volume buttons often work as a shutter release, which can be easier to press smoothly than the on-screen button.
- 06
Step 6: Edit in your phone's built-in tools
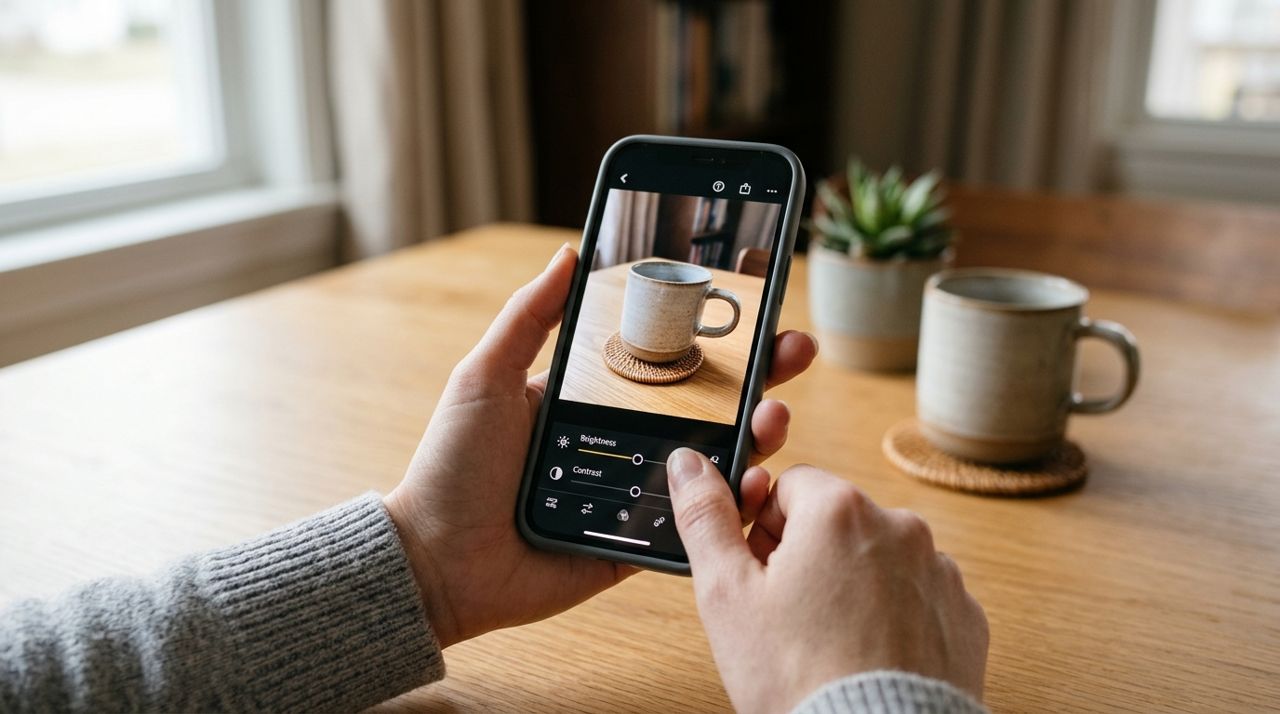
Hands editing product photo brightness and contrast using smartphone built-in photo editing tools You don't need fancy software. Open each photo and use your phone's editing tools. Start by straightening—products should sit level, not tilted. Crop tighter if needed, but leave a little breathing room around the edges.
Increase brightness slightly if the image looks dim. Bump up contrast by 10-20% to make colors pop. Adjust shadows to reveal hidden detail without making the image look washed out. Touch up the white balance if your product looks too yellow or blue—it should match real life. Skip heavy filters; buyers want to see accurate colors. Finally, use the sharpen tool sparingly—a little goes a long way. Save the edited version and keep the original just in case.
- 07
Step 7: Upload photos that show what matters

Person selecting and uploading multiple product photos to online shop on smartphone screen Choose your five best shots. Lead with the hero image—your most appealing, straight-on photo that shows the whole product clearly. Follow with different angles, then a close-up that highlights quality, texture, or special features. If you're selling on Lumo, open the Seller mode in the app, tap into your product listing, and add photos directly. The first image is what shoppers see when browsing, so make it count.
For clothing, include a photo on a hanger and a flat lay showing how it looks from above. For food, show the label so buyers see ingredients and nutritional info. For vintage or used items, photograph any flaws honestly—this builds trust. Name your files something descriptive ('blue-ceramic-mug-front.jpg') so you stay organized as your shop grows.
Pro tips
- Overcast days provide the best natural light—schedule your photo sessions accordingly.
- Clean and style your products before shooting; remove price tags, dust, and fingerprints.
- Photograph similar items in batches to save time on setup and editing.
- Avoid using your phone's digital zoom; step closer instead for better quality.
- Check your photos at full size before packing up—it's easier to reshoot now than later.
Frequently asked questions
- Do I really need a white background, or can I use something more interesting?
- White or neutral backgrounds work best because they don't distract from your product and look clean across all devices. Save creative backgrounds for social media posts; for shop listings, simplicity sells. Buyers want to see what they're getting, not your staging skills.
- My photos look grainy or blurry. What am I doing wrong?
- Graininess usually means you're shooting in too-dim light or your ISO is cranked up automatically. Move closer to the window or shoot earlier in the day. Blurriness comes from camera shake or missed focus—use the timer, lock focus by tapping your product, and hold your phone with both hands.
- Should I take vertical or horizontal photos?
- Shoot vertically (portrait orientation) for tall items and horizontally (landscape) for wide items. Most online shops display square or vertical images, so when in doubt, shoot vertical—you can always crop to square later without losing the important parts of your product.
Great product photos don't require expensive gear or years of training. With natural light, a clean background, and your phone's camera, you can create images that build trust and drive sales. Practice these techniques with a few items, review your results, and refine your process. Once you've built up a library of quality photos, list your products on Lumo's Seller mode, set your prices, and start reaching local customers who value the care you put into every detail.
Photos are illustrative. Service prices are typical ranges and vary by city. How we write our guides.
More guides like this

How to Open a Free Online Shop for Your Neighborhood Boutique
Your neighborhood boutique can reach more customers without paying monthly platform fees. Here's how to open a free online shop, list your inventory, and start taking orders today.
How to Manage Stock Levels for Your Retail Shop (And Never Oversell)
Selling out is great—selling something you don't have is a disaster. Here's how to keep your stock levels accurate and avoid disappointing customers.

How to Write Product Descriptions That Actually Sell Your Items
A good product description does more than list features—it answers questions, builds trust, and makes people want to buy. Here's how to write descriptions that turn views into sales.